As per the previous article, now that you have your basic workflow sketched out, it’s time to think about what the approval process will be for your objects and tasks (and, a little later on, your asset versions).
Your Status Workflow
Statuses are used to give you information at-a-glance regarding how far along the elements of your project have progressed toward completion.
Within ftrack Studio, statuses can also help users filter through projects to surface specific information. Your filtered views can be saved, allowing you to collaborate and share that information more effectively with team members.

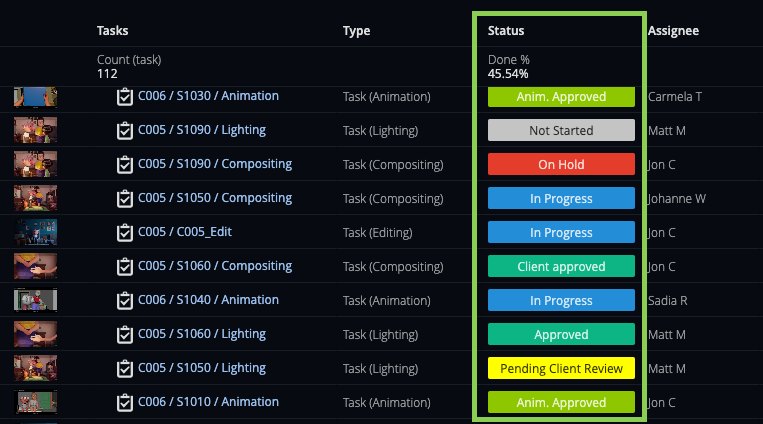
Image: Task statuses as viewed in the Tasks Spreadsheet.
Statuses are required for tasks, milestones, and asset versions. They can optionally be set for objects if required by your workflow.
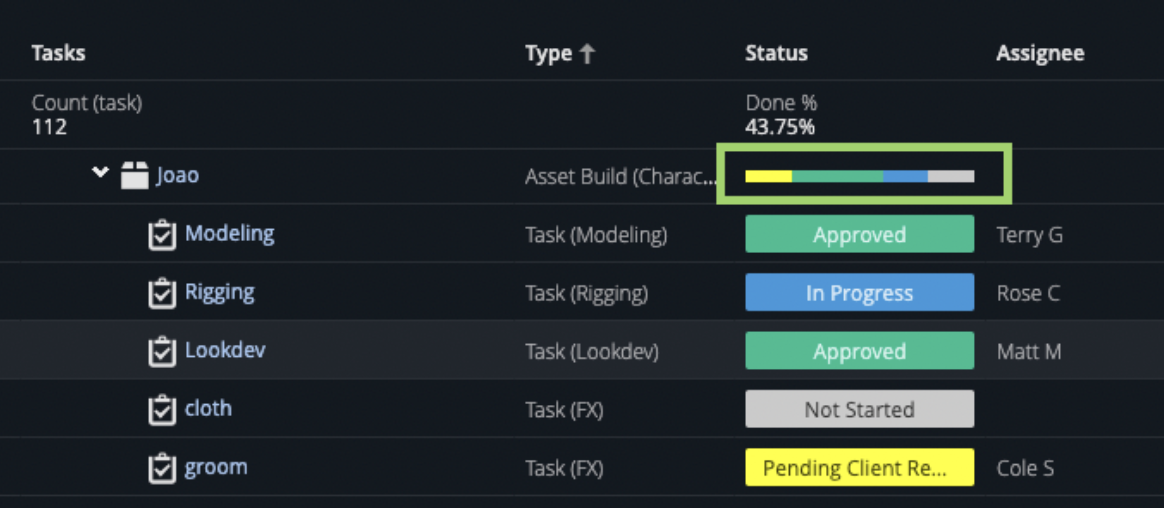
By default, ftrack Studio will display a standard Status summary for objects based on the current statuses of its tasks. However, you can change that setting in the Tasks Spreadsheet to explicitly set a status on objects in your project. This can be configured anytime, as long as your objects have been created with a Status attribute.

Image: Highlighted object sStatus displaying the default summary of its task statuses
To choose which statuses you want to use on your projects, think about how granular you want the information to be regarding where your tasks are in the approval process.
If your project workflow is simple, keep your statuses simple such as: Not Started, In Progress, and Completed or Approved.

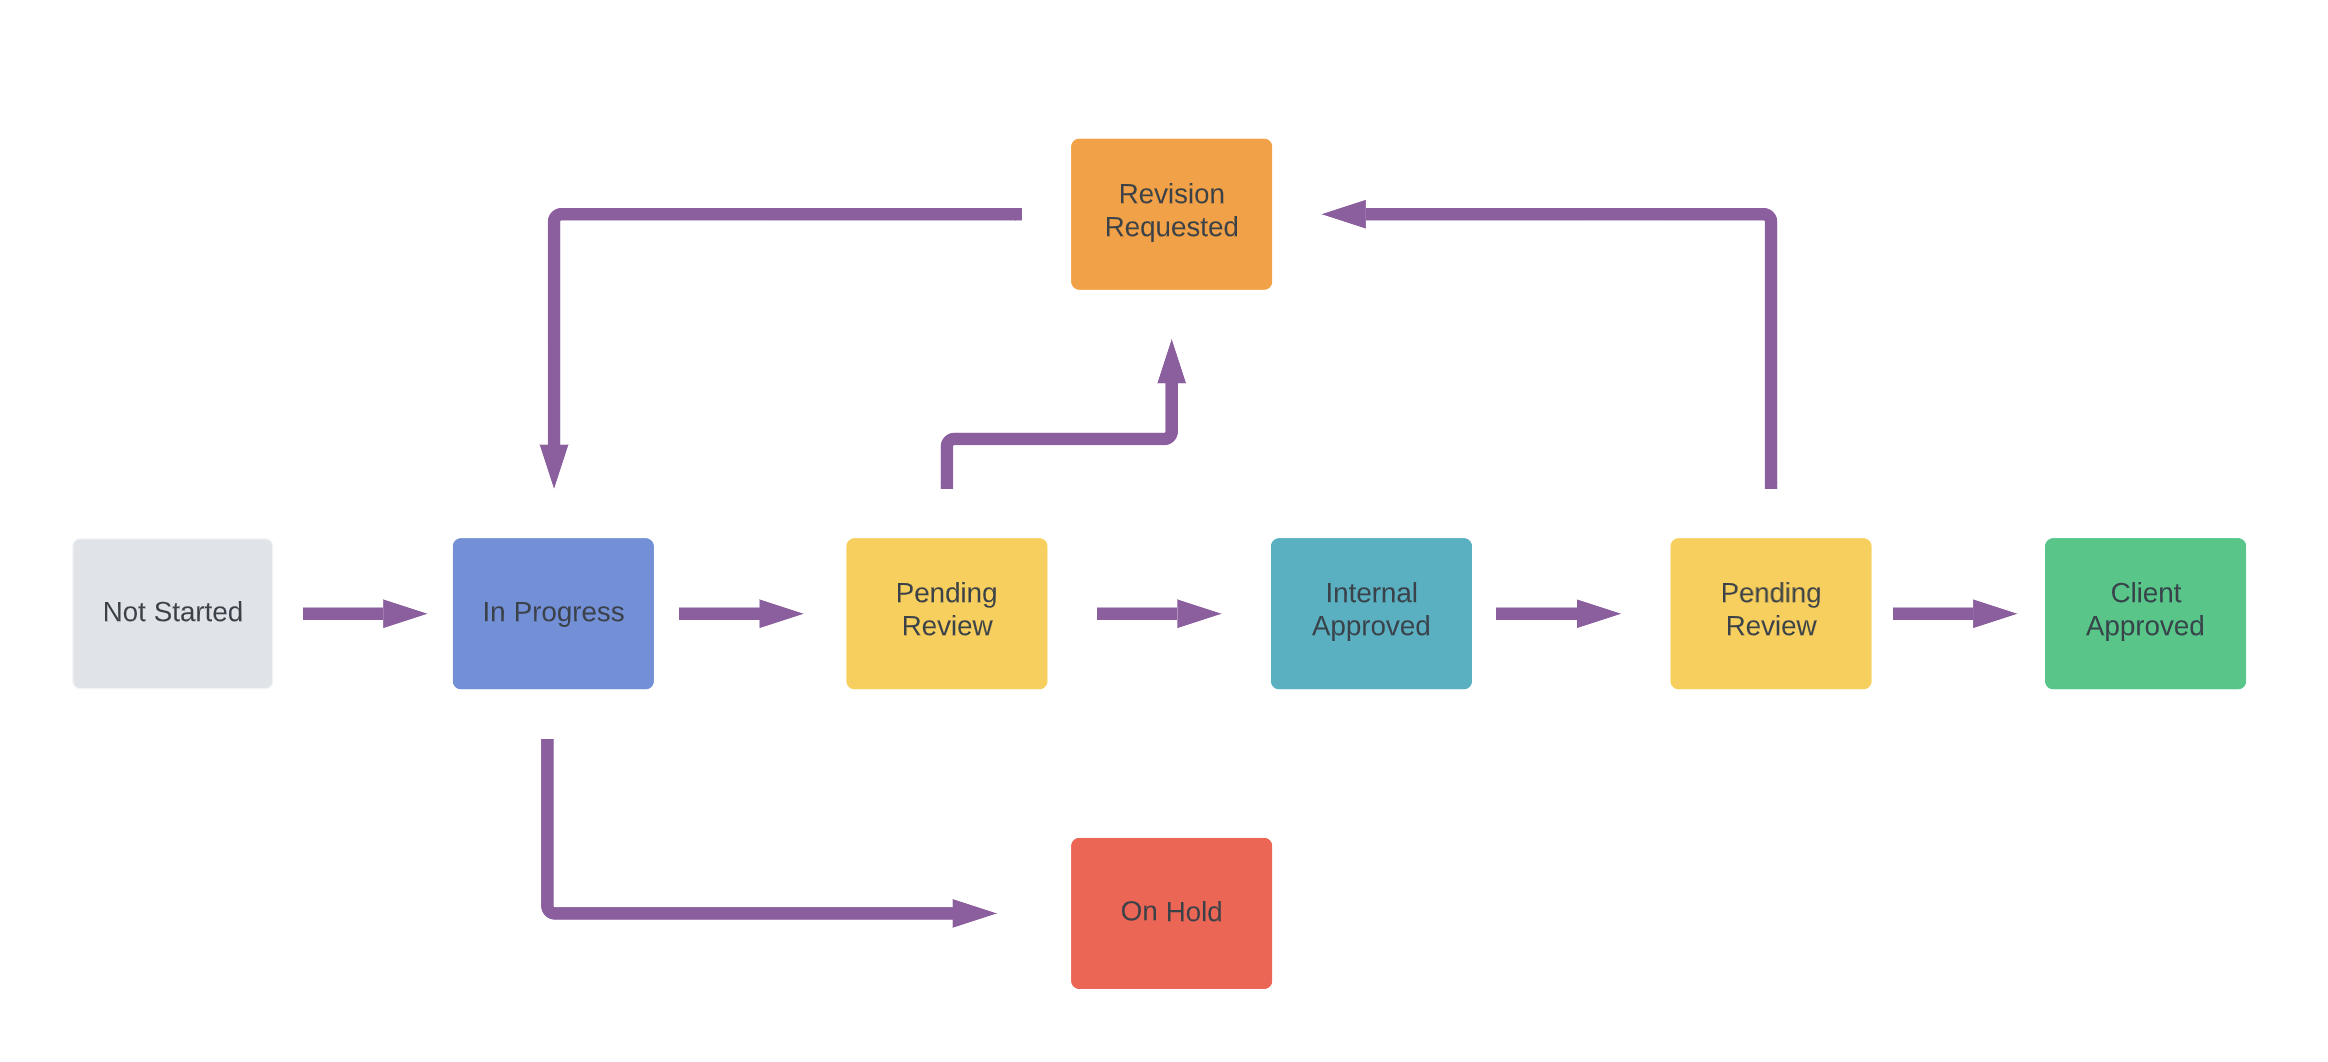
Or, if there are a lot of moving parts, many stakeholders who will need to sign off on the work, and multiple delivery stages, you may need to have more detailed statuses that include stages like: Pending Review, Revision Requested, Internal Approved, Client Approved, On Hold, etc.

Having many statuses means it’s easier for your team to see where an object is situated within your approval workflow with minimal digging or chasing of team members for information. However, it becomes more important that everyone is clear on what each status means and how to use them effectively.
| Tip: Keep your status workflow as simple as possible until necessity deems another layer is needed. It’s often easier to add a new status than to remove a status from a project. |
Take Action
 |
Using the basic workflow you created in the previous step (Charting your objects, tasks, milestones, and their Types), think about the statuses you need to track for each. |
Here are a few questions to help:
- Do my objects need statuses, or do I want to use ftrack’s default status summary?
- Can I use the same list of statuses across all my different objects, or do I need a unique status list per object? (Example: can I use the same status list for my Shot objects that I use for Asset Build objects, or do they need unique statuses?)
- What statuses do I want to track on tasks? (It is important to note here that a task will have the same status list regardless of the object it is attached to, meaning your task status list will be universal across all objects)
- What statuses do I want to track on milestones? (You must use at least one)